Summarize this article with:
- 🤖 Learn how to supercharge your Discord server with a powerful chatbot using LLM models (OpenAI, Cohere, Google, Mistal, etc.) and Eden AI's AI Chatbot Workflow.
- Now that we've covered the purpose of integrating a chatbot into Discord, we can start building our Chatbot using Eden AI's AI Chatbot pre-built Workflow and GPT 3.5.
- Developer: Add URLs to your Eden aI's AI Chatbot project, check the number of chunks in the project, and assign/remove the "developer" role to other members.
- To begin utilizing Eden AI's AI Chatbot workflow, the first step is to create a free account on Eden AI .
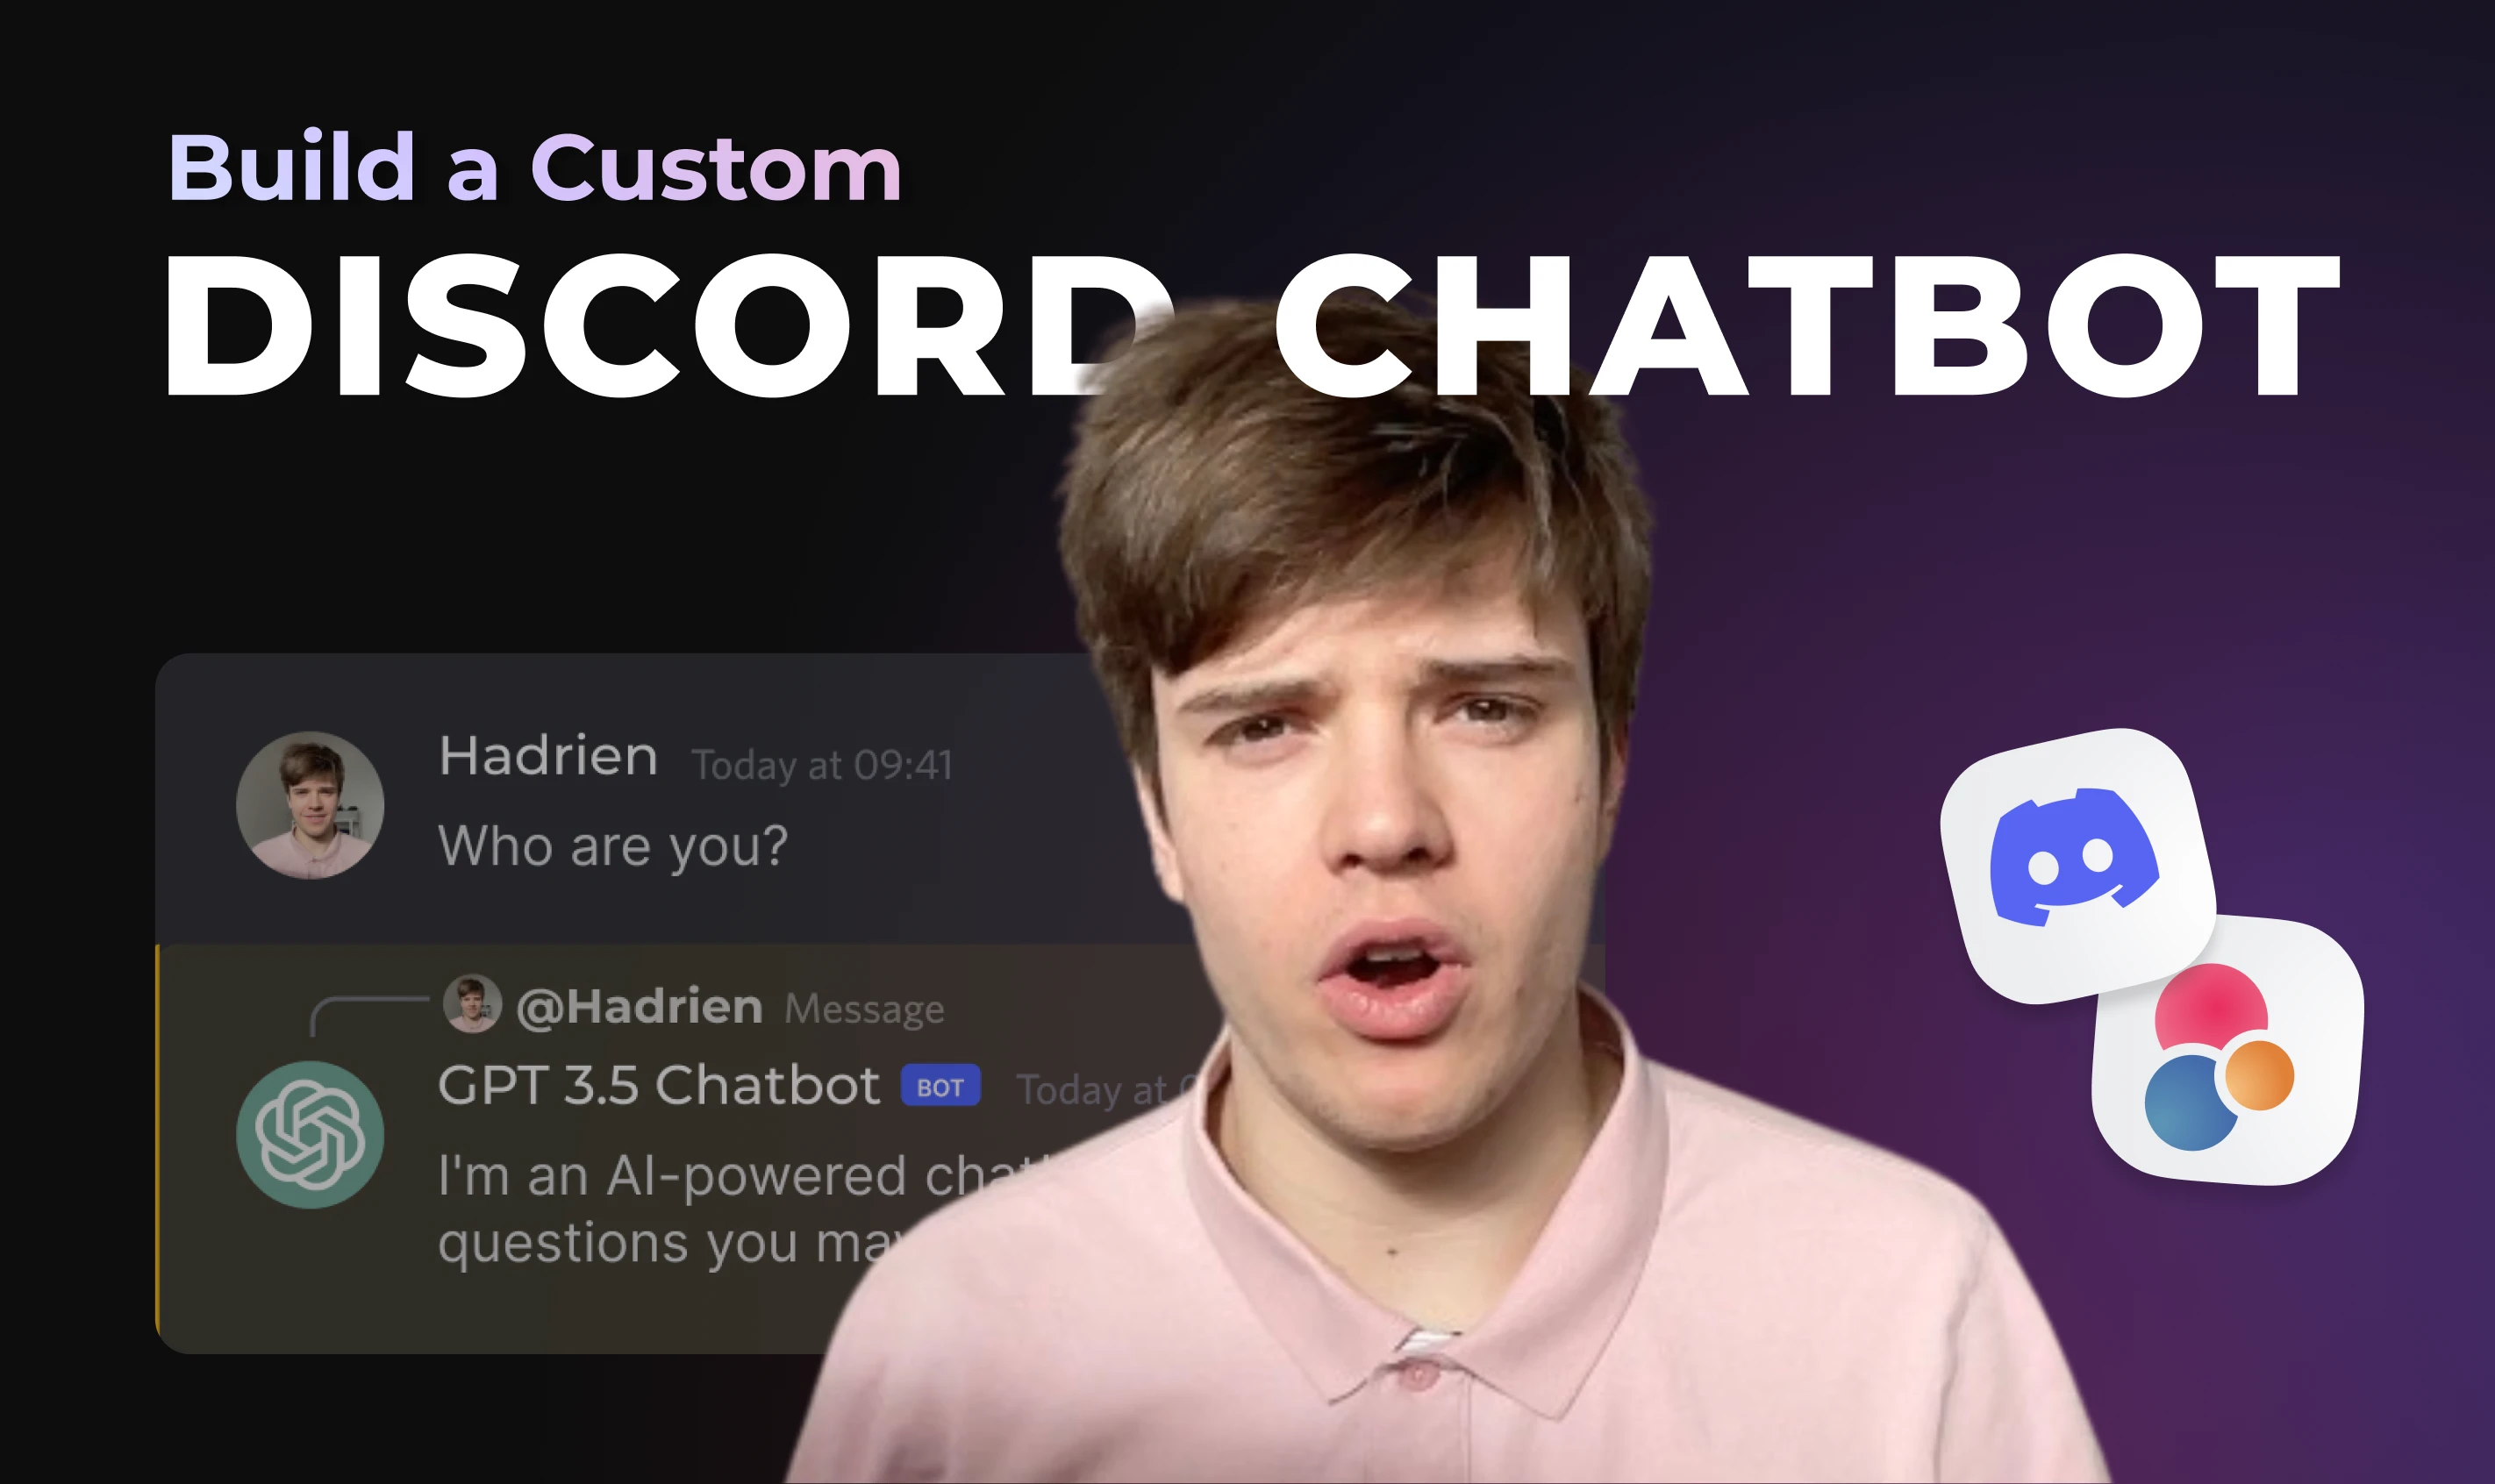
- VIDEO | Create a Custom ChatGPT Bot in Discord enables automation, accuracy improvements, and cost reduction across AI-powered applications.
🤖 Learn how to supercharge your Discord server with a powerful chatbot using LLM models (OpenAI, Cohere, Google, Mistal, etc.) and Eden AI's AI Chatbot Workflow.
1. What is Discord?
Discord is a popular communication platform that allows users to create and join communities, known as servers, where they can chat, share media, and play games together. It has become a go-to platform for businesses, gamers, and communities to connect and collaborate.
One of Discord's unique features is the ability to add bots to servers.
Bots are automated programs that can perform various tasks, such as moderating chats, playing music, and providing information. These bots can be created by anyone, making Discord a versatile platform for businesses to enhance their communication and productivity.

Integrating a Chatbot with Discord can be immensely beneficial for companies. It can assist in various tasks, such as:
- Answering common questions
- Providing information about products or services
- Conducting polls and surveys
- Moderating chats
- And much more!
This can save time and effort for your employees, allowing them to focus on more critical tasks.
2. What is Eden AI’s AI Chatbot Workflow ?
Eden AI's versatile AI Chatbot workflow empowers users to create customized AI chatbots on their own data or business-specific information with any AI model from a wide range of LLMs available on the market: OpenAI, Cohere, Google Cloud, and more.
To start using this template you need to create an account on Eden AI for free. Then, you'll be able to get your API key directly from the homepage and use it with free credits offered by Eden AI.

Eden aI's AI Chatbot workflow addresses limitations by facilitating data integration and training in multiple programming languages. It has broad applications across industries, making it a versatile tool for businesses, students, content creators, and researchers to train chatbots with their own data.
3. How to create a chatbot into your Discord server?
Now that we've covered the purpose of integrating a chatbot into Discord, we can start building our Chatbot using Eden AI's AI Chatbot pre-built Workflow and GPT 3.5.
💡 The project is built using the nextcord.py library and has three different functionalities based on user roles:
- Normal User: Ask questions in the chat, and the AI Chatbot will answer you based on its stored data.
- Developer: Add URLs to your Eden aI's AI Chatbot project, check the number of chunks in the project, and assign/remove the "developer" role to other members.
- Admin: Assign/remove the "Admin" and "developer" roles to other members.
Here's how to get started:
Step 1. Create an account on Eden AI for free
To begin utilizing Eden AI's AI Chatbot workflow, the first step is to create a free account on Eden AI. Once registered, you can obtain your API key 🔑 directly from the homepage. This key can then be used with the complimentary credits provided by Eden AI.
.svg)

Step 2. Clone the Git repository
You can find the Git repository here.
Step 3. Create a bot on Discord's developer portal
- Go to Discord's developer portal.
- Create a new application.
- Customize it as desired (name, avatar, etc.).
- Navigate to the "Bot" section and create a bot. Obtain the bot token.
Step 4. Add the bot to your server
Use the generated link from the "OAuth2" section in the Discord developer portal to invite the bot to your server.
Step 5. Reset the bot token
In the .env file in your cloned repository, update the TOKEN variable with the newly generated bot token.


Step 6. Enable necessary Intents
Ensure all required Intents are enabled in the Discord developer portal. This includes at least the Guilds, Messages, and Message Content intents.
Step 7. Add your Eden AI API token
In the .env file, update the EDENAI_API variable with your Eden AI API token.
Step 8. Set your project ID
If you have an existing AI Chatbot project, copy its ID from Eden AI and paste it into the PROJECT_ID variable in the .env file.
Step 9. Define your bot channel
Specify the channel ID where you want the bot to answer questions. You can find the channel ID in the Discord developer settings.

Step 10. Run the bot
Last but not least, execute the bot.py file in your cloned repository to start the bot.
🙌 That's it! Your Eden AI's AI Chatbot should now be up and running in your Discord server, ready to answer questions based on its stored data. Developers and admins can also manage project URLs, roles, and settings as needed.
4. Development details
We primarily utilize the nextcord library, which is essentially a fork of the discord.py library. Additionally, we employ decouple to manage our .env file. While our codebase is spread across various files, the central one for running the bot is main.py. This file mainly serves the purpose of keeping the bot operational and integrating all its features.
These features are organized in the cogs folder, with each file dedicated to a specific Discord role. A Discord role, comprising a set of permissions assigned to a user, can be categorized as admin, developer, or user.
The admin role exclusively utilizes nexcord features for role management, without involving the Eden AI APIs.
On the other hand, a user is limited to making posts about their inquiries. The bot responds only if it finds a relevant answer within the project. If not, it redirects the query to the custom classification endpoint of Eden AI. In case of a unique situation, assistance may be sought from the developer team.
The developer role encompasses multiple functionalities. First, it allows the addition of a URL to the Ask Yoda project. Leveraging the /add_url endpoint, the provided URL is passed to the project through the /add_url command. Consequently, all data associated with the URL becomes part of the project.
Additionally, developers have the capability to store conversations in the project. When the bot struggles to comprehend a query, a developer can intervene, answer the question, and save the conversation to the project for future reference. The /save command employs the /add_text endpoint to append the conversation to the project.
Ultimately, all the Eden AI features are encapsulated within an Eden AI's AI Chatbot Python class. This class houses numerous methods, many of which are dedicated to handling API calls.
Conclusion
😎 The AI Chatbot workflow from Eden AI is a powerful and engaging bot that can significantly enhance the Discord experience for businesses. Its AI capabilities and witty responses make it a valuable addition to any server, providing practical value and entertainment.
As Discord continues to gain traction in the business world, bots like Eden AI's AI Chatbot are becoming essential tools for companies to improve communication, productivity, and customer service.

.jpg)

.jpeg)
.jpeg)