Summarize this article with:
- Chainlit, an open-source Python framework, provides the capability to develop Conversation AI interfaces with ease, allowing for customization through various providers.
- The template's integration with providers such as OpenAI , Cohere , and Google Cloud expands its functionality, addressing limitations by enabling seamless data integration and training in...
- Once registered, you can obtain your API key 🔑 directly from the homepage.
- Eden AI provides a unified API platform that gives you access to the best AI providers for this use case, with standardized responses and centralized billing.
- Common applications include automating workflows, enriching data pipelines, building intelligent products, and reducing manual processing time related to Build a Custom ChatGPT-like Chatbot with...
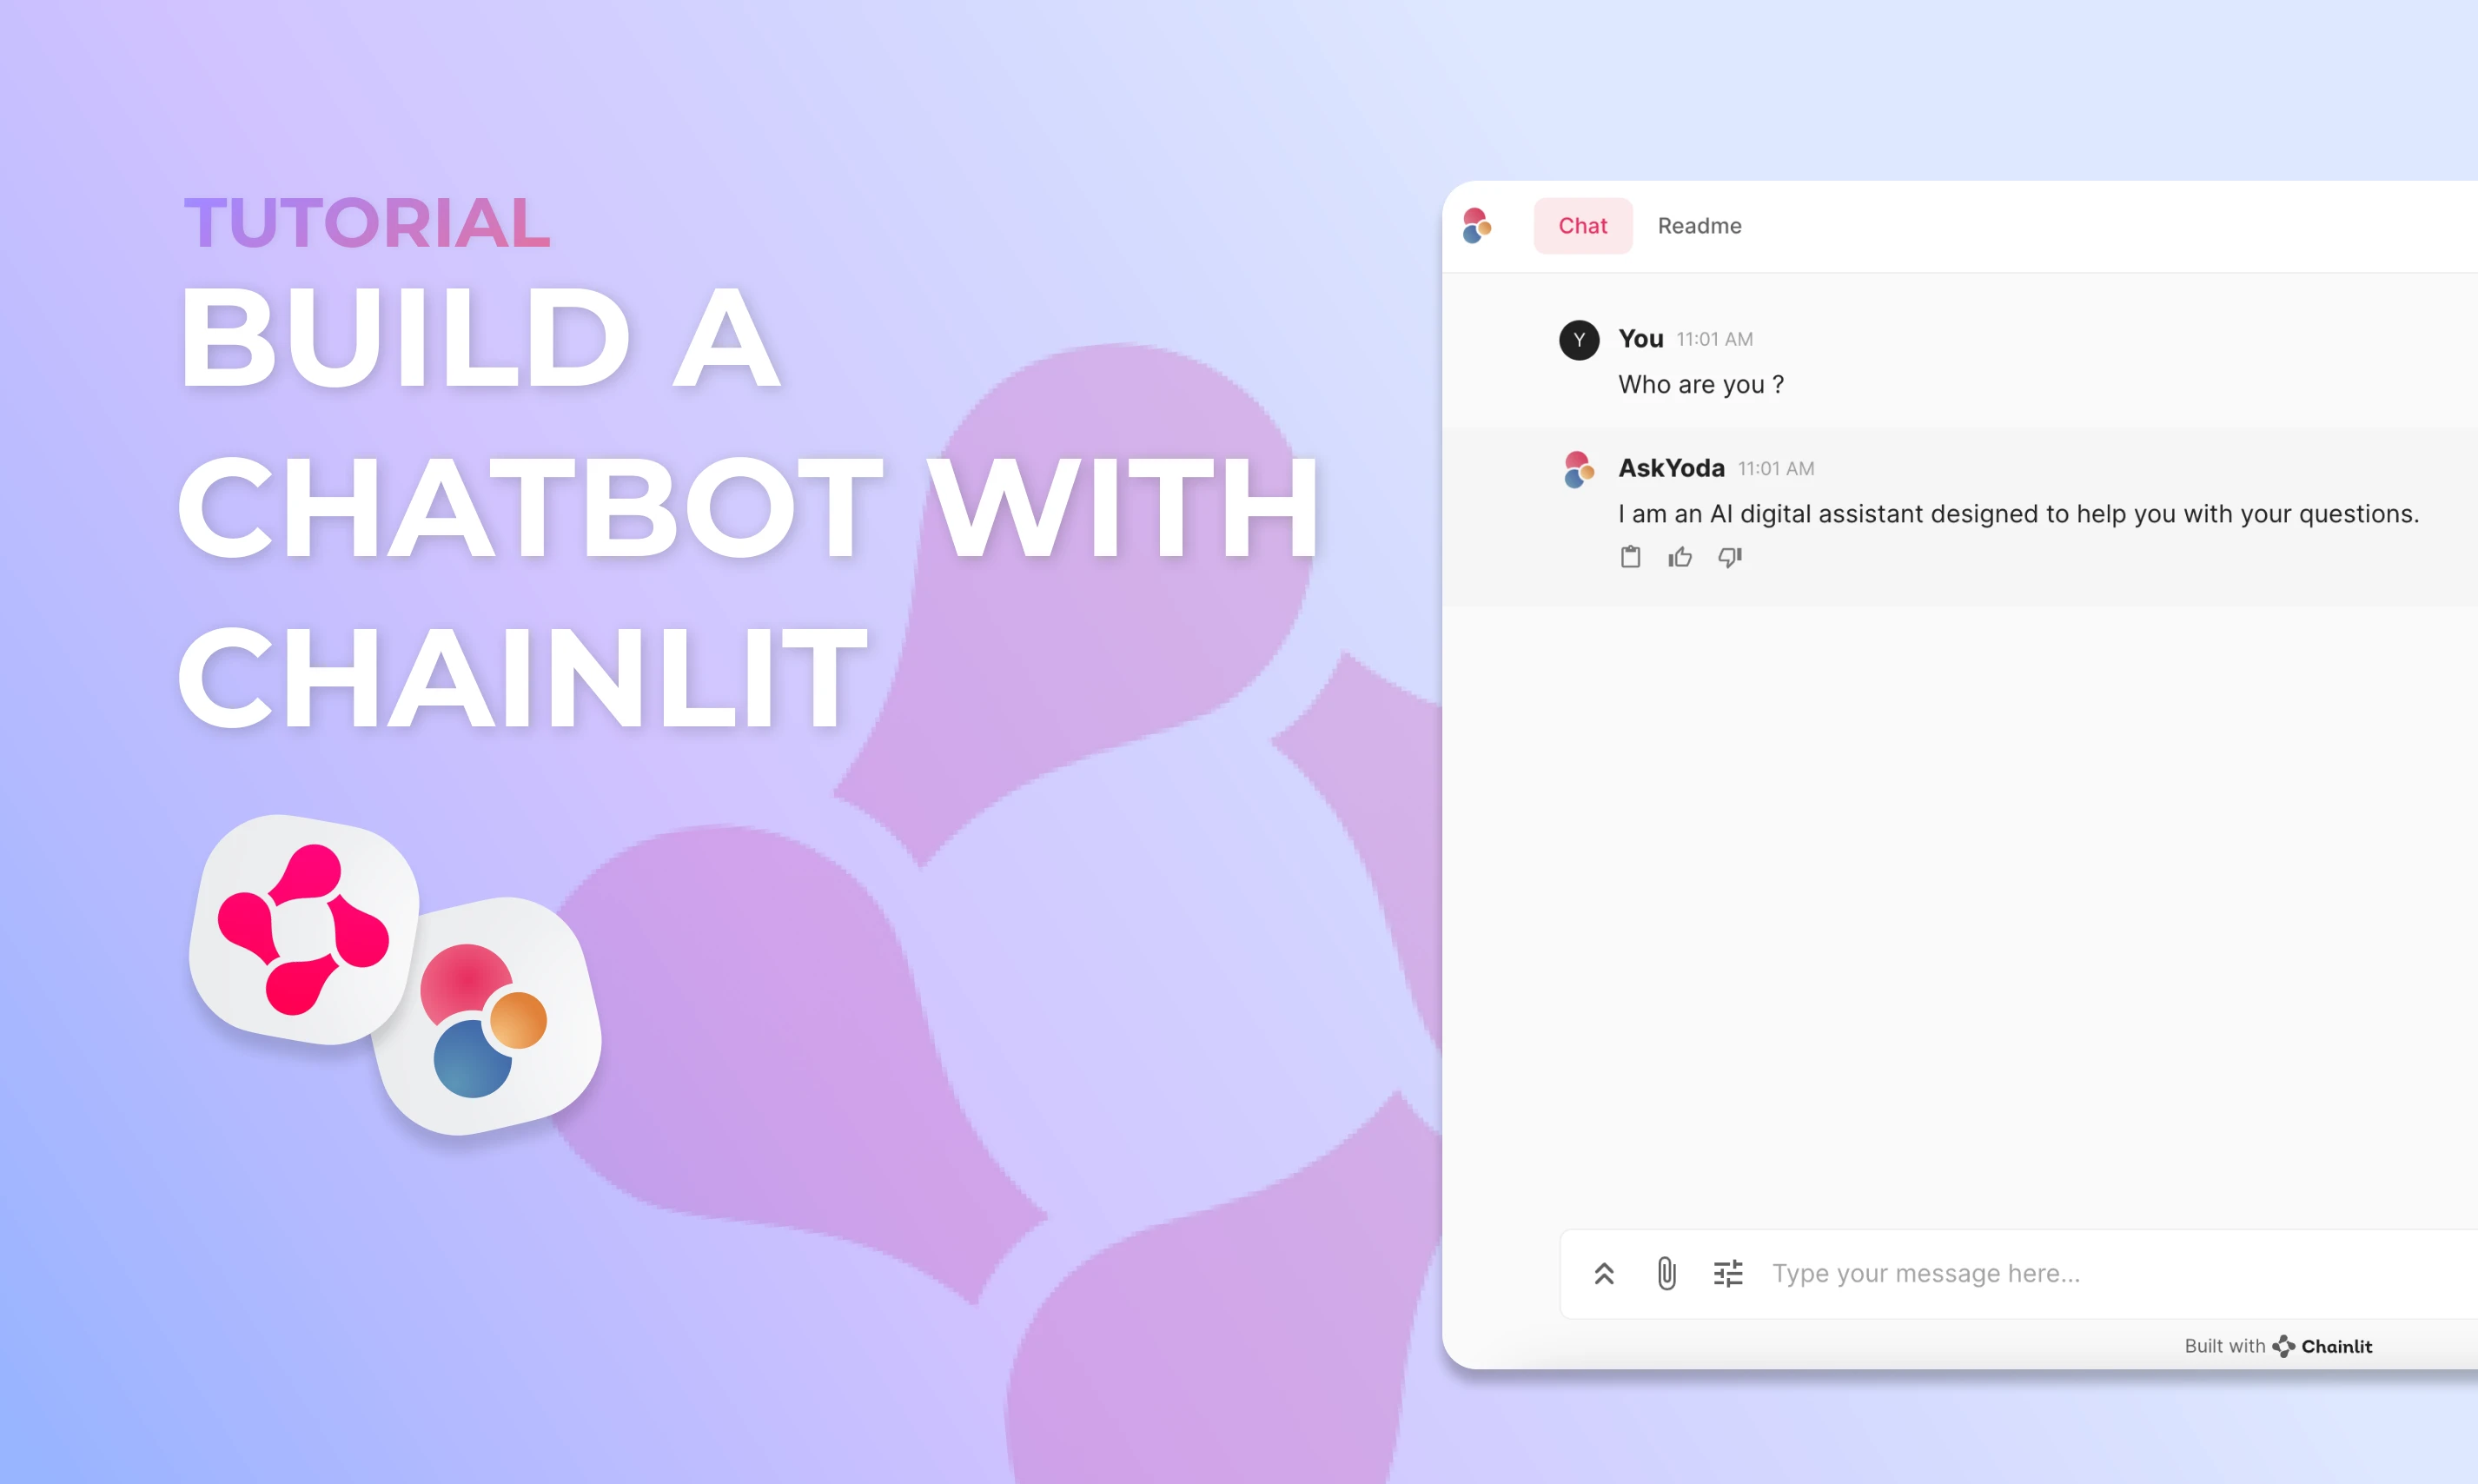
This tutorial will guide you through building a custom chatbot using Chainlit and Eden AI's AI Chatbot solution with RAG, providing a powerful and customizable conversational AI tool for various applications 🙌
Advantages of Eden AI and Chainlit for AI Chatbot Development

Eden AI's AI Chatbot solution with RAG and Chainlit offer significant advantages for those looking to create and customize AI chatbots.
Chainlit, an open-source Python framework, provides the capability to develop Conversation AI interfaces with ease, allowing for customization through various providers.
On the other hand, Eden AI's AI Chatbot solution, empowers users to craft and train AI chatbots using their specific data.
The template's integration with providers such as OpenAI, Cohere, and Google Cloud expands its functionality, addressing limitations by enabling seamless data integration and training in multiple programming languages.
How to build a custom chatbot using ChainLit?
Step 1. Prerequisites
💡 Make sure you have the following libraries installed: chainlit, requests, json, dotenv, os
Step 2. Decorator and Chat Settings
Chainlit works with decorators for handling interactions, so you will need to use it for each of the interaction you want to handle. Here's an example decorator, followed by the function that will be triggered when a new message is posted.
You can also customize chat settings using cl.ChatSettings in the triggered function:
Step 3. Retrieve Chat Settings
You can retrieve the selected chat settings like this:
Step 4. Create a project in Eden AI's AI Chatbot solution
1. Create an Account
To begin utilizing the AI Chatbot solution, the first step is to create a free account on Eden AI.
Once registered, you can obtain your API key 🔑 directly from the homepage. This key can then be used with the complimentary credits provided by Eden AI.
.webp)

2. Create a new project
Once logged in, navigate to the AI Chatbot solution. Then, you can start by creating your project.

3. Upload Your Data
Upload the data you want to train your chatbot on.

4. Chat with Your Data
Once your project is set up, you can start chatting on the interface using your own data:

If you want to go further check our article on our website
Step 5. Make API Calls to your Custom AI Chatbot
Before making API calls, ensure you have the bearer token and project ID ready:
Then, gather all the necessary information and make the API call to Eden AI:
Step 6. Run the Chat Interface
To run your custom ChatGPT interface with Eden AI's AI Chatbot solution using Chainlit, type:
chainlit run app.py
.gif)
Congratulations! 😎 You've created your own Eden AI's chatbot interface using Chainlit!
You can now use it with the LLM of your choice from a diverse selection of providers on Eden AI, including OpenAI, Google, Cohere, Anthropic, AI21 Labs, Amazon, and many others!

There are still opportunities for further improvements such as authentication, chat history management, and adding more features as needed.
Explore more possibilities with Chainlit and Eden AI's AI Chatbot solution for creating powerful AI conversational agents tailored to your needs.
7. Embed your chat on your app/product
The chat is deployable in Copilot. Learn more about Copilot deployment here.
The Copilot is tailored to assist users in maximizing their app experience by offering contextual guidance and performing actions on their behalf:


.jpg)

.jpeg)
.jpeg)